Performance Optimization using Code Splitting in React

Let's Understand First What is Code Splitting and why we need it?
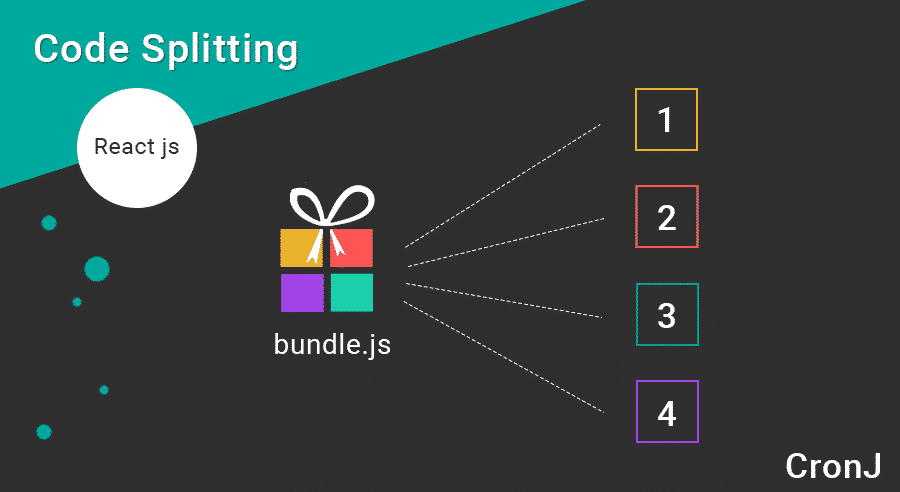
Most of the and many javascript frameworks supports and bundlers like (webpack, rollup, parcel) which bundle up all code and merge it into one file. This makes the process easy to add one js file to an HTML file. In this process, the bundler tool minifies the js code hence the performance of the page loading increases but at a certain stage when your codebase/app starts to grow and the bundle file size starts to increase and the overhead of interpreting and executing the code slows the page load down instead of speeding it up. This is where the code splitting comes into a picture
The key factor of code splitting is which part of the page needed js code to run so code splitting allows strategically omitting a certain chunk and loading it whenever we need it, this improves the page performance drastically, and having a fast initial loading time really helps. Many studies have shown that pages have less than three seconds to make an impression on users, so shaving off even fractions of a second could be significant. Therefore, aiming for three seconds or less of load time is ideal.
How to implement code splitting in React?
There are several ways to achieve the code splitting
1] Component-wise code split
- import()
- React.lazy
2] Route-wise code split
1] Component-wise code split
import()
The best way to introduce code-splitting into your app is through dynamic import(). if you are using CRA then it has been already configured to support the dynamic import. by default dynamic import uses the then function to import the code that is need
Note: we can transfer the promise way of importing to async/await.
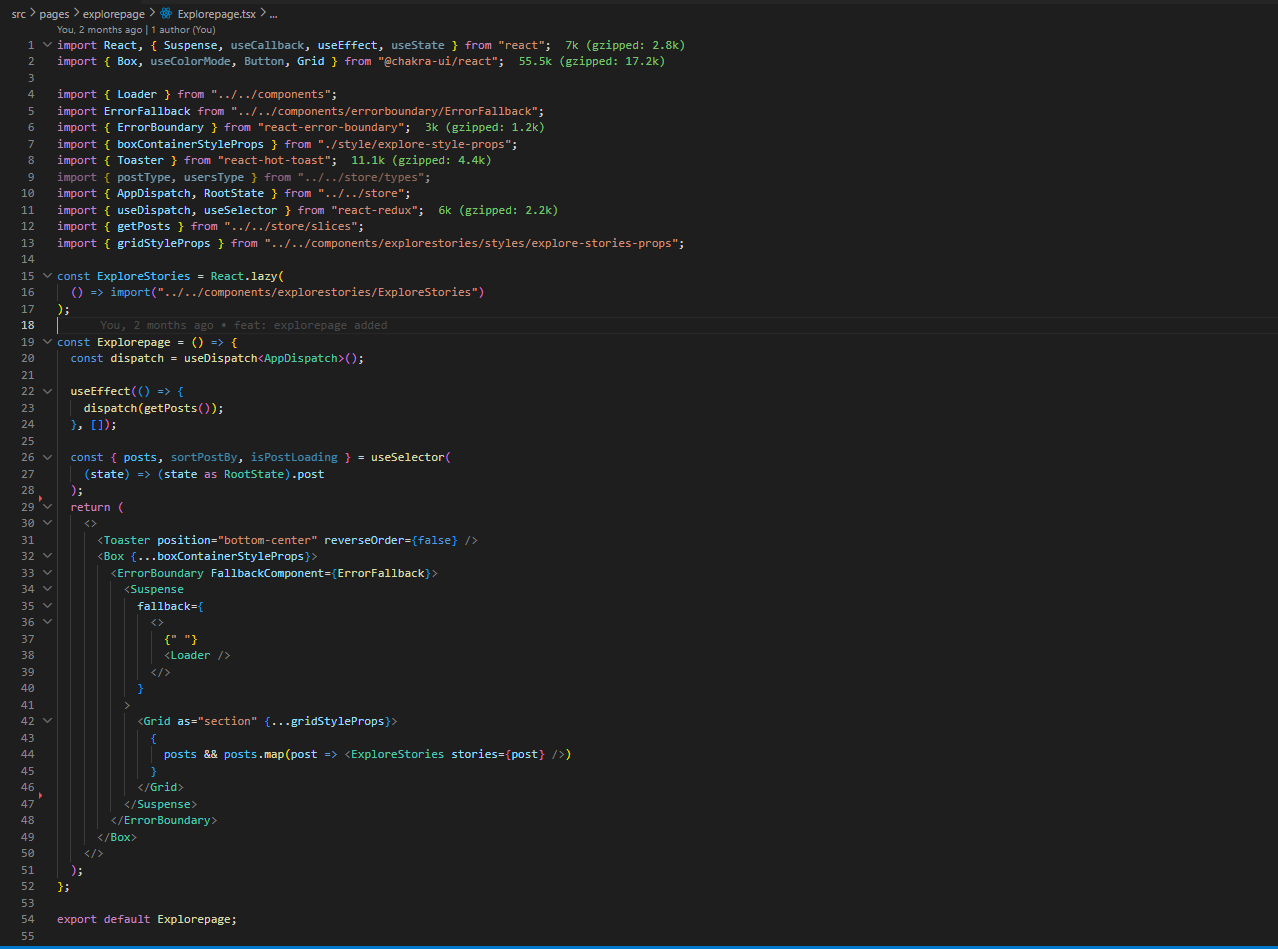
React.lazy
The React.lazy function lets you render a dynamic import as a regular component. This will automatically load the bundle containing the component whenever the component is rendered. The lazy component should then be rendered inside a Suspense component, which allows us to show some fallback content (such as a loading indicator) while we’re waiting for the lazy component to load. the fallback prop accepts react element that you want to render until the component gets loaded on UI.also we should wrap the component with Error Boundary because if the lazy component gets failed to load due to some network error etc. it will throw an error so this will crash the whole UI. instead of that wrap the component with an error boundary, it will throw an error of the component without crashing a whole UI.
Example
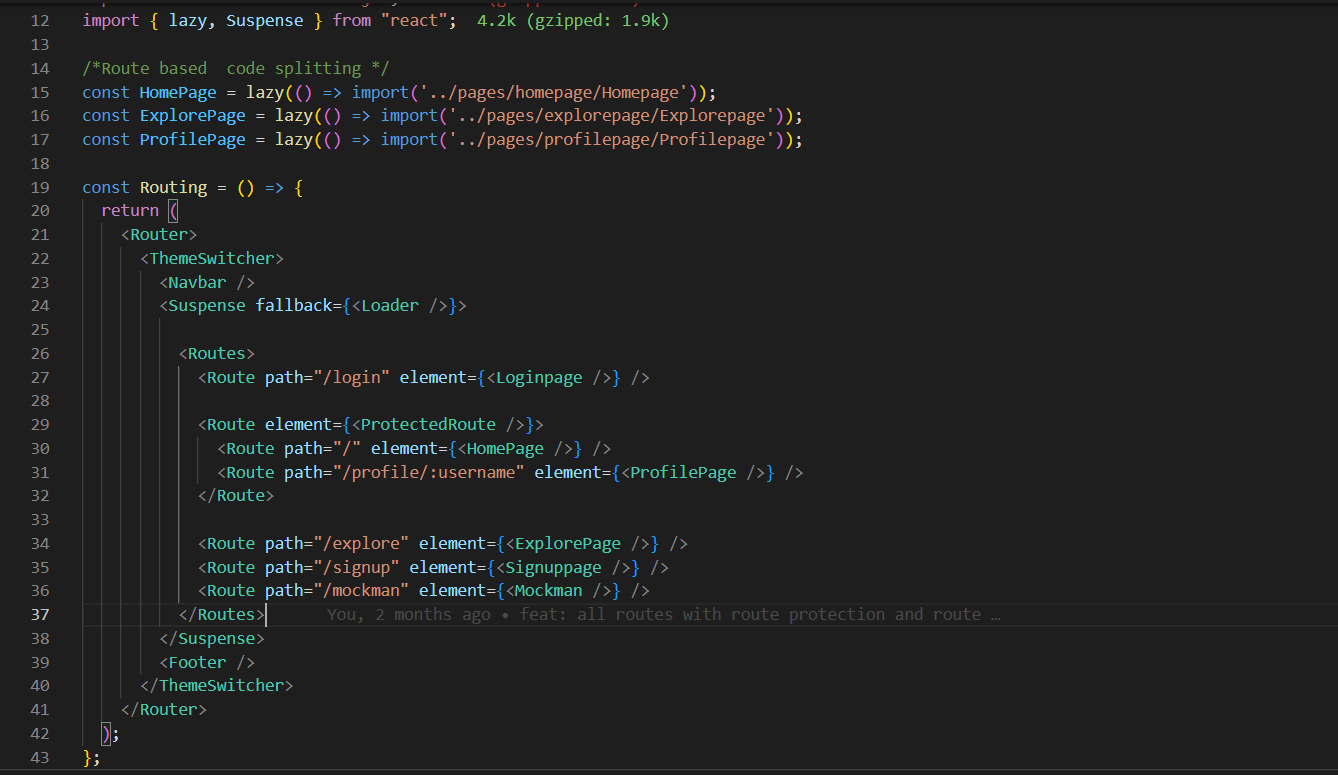
2] Route-wise code split
Choosing where your app needed component-wise code split or route-wise code split can be tricky the best way to start is with Route base code splitting the main difference of the route base code is suppose you have 3 routes in your app
1] /
2] /home
3] /categories
by default, the user will land it on the root path of this route which 1] / so what it will do basically it will load only the content of the root path of the route instead of loading another route. once the user switches to another route path then it will load the necessary chuck of js which this route required.
Example: